


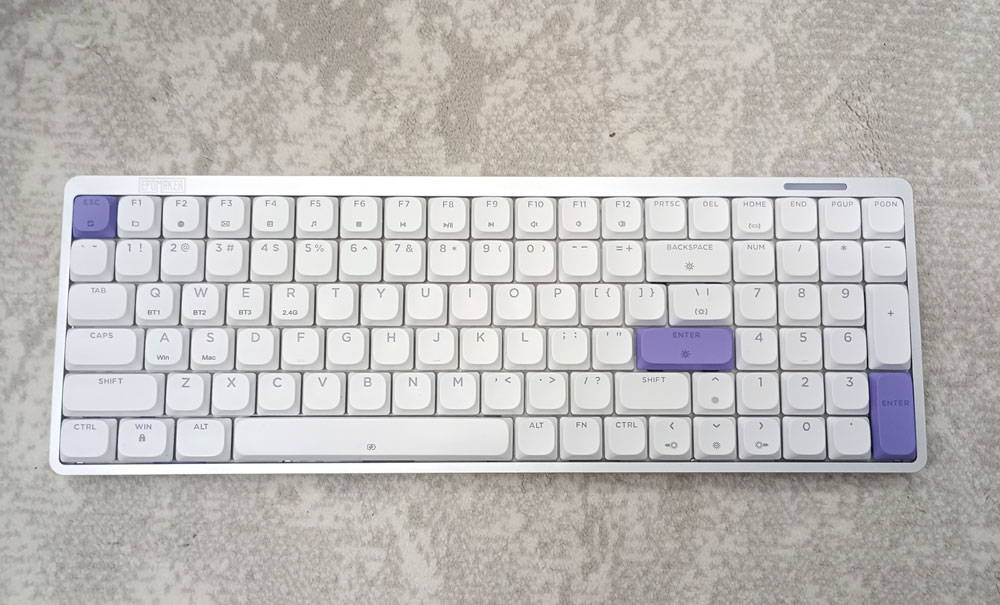
EPOMAKER Luma100 Is A Comfortable Keyboard To Type On, And More
I received EPOMAKER Luma100 from EPOMAKER to review & give my own opinion on. To start with the most important thing, typing on it was very comfortable, as the keys were light and easy to press. The keys were barely loud, but they were not entirely silent. That makes it suitable to use in an office environment where there are others around you. The 96% form factor gives you almost all the keys of a 100% keyboard, all while being compact. Despite the fact it has an aluminum body, the keyboard is actual light.
The backlight looks very beautiful along the white keycaps. I quite appreciate the keycaps being passthrough, as not only does that make the keyboard suitable to be used in darkness, but it also makes it look beautiful. In addition to the backlight, there’s a light stripe at the corner. The color of the stripe can be adjusted on its own.
EPOMAKER Luma100 supports customization using the VIA software. It offers many features that cover the needs of most people. There’s the option to customize it even further if that’s not enough. While there is only one option for the switches, you can replace the switches to any of your liking if linear switches are not your thing.
EPOMAKER Luma100 supports 3 connectivity modes, so in addition to being able to connect it to your computer via a USB cable, you can use the wireless receiver that comes with it or even connect up to 3 Bluetooth devices. This makes it suitable to be used with tablets & mobile devices. It even comes with a carrying case for that purpose.
Buy From AliExpress
#CommissionsEarned

Quickly go to:-
Unboxing & Overview
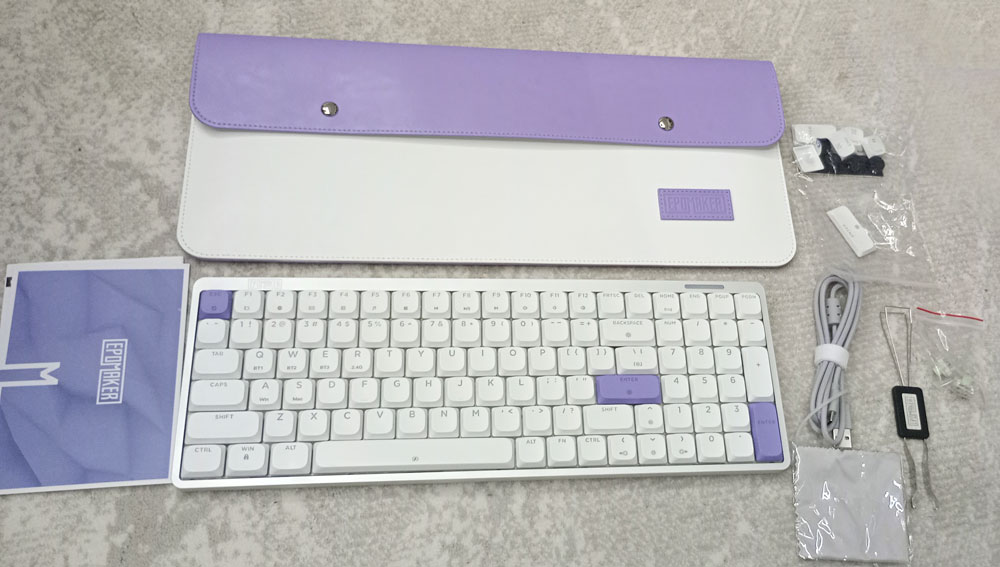
After unboxing EPOMAKER Luma100, I found the following stuff in the box:-
-
- EPOMAKER Luma100 itself.
- USB cable.
- USB receiver (attached to the USB cable).
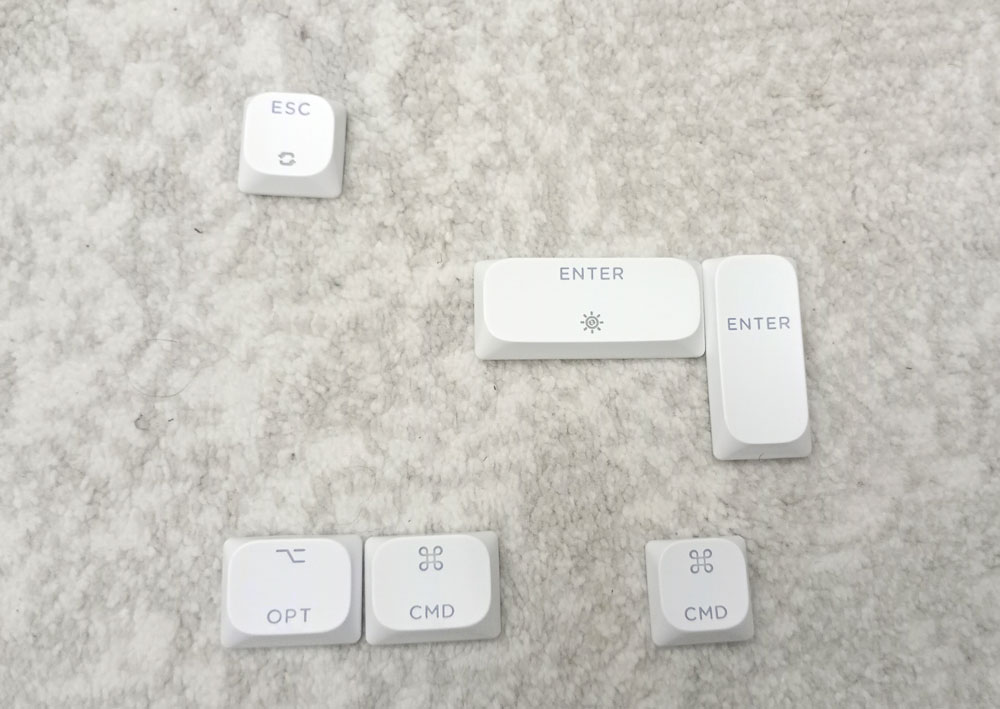
- Spare keys (Mac keys + white Enter, numpad Enter & Escape).
- Keycap & switch puller.
- 2 spare switches.
- Wiping cloth.
- Taller feet to help adjust the keyboard to your liking.
- White-purple carrying case.
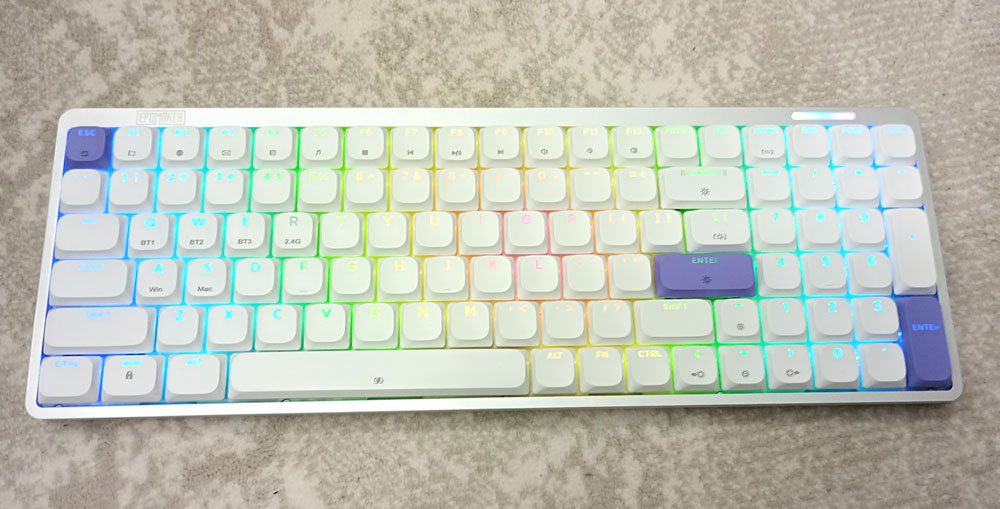
The first impression I had when I unboxed EPOMAKER Luma100 & connected it to my computer is that it’s very beautiful. The thin design along with the aluminum chassis gives the keyboard a premium feel. I quite appreciate that the keycaps are passthrough, so you can easily use this keyboard in darkness without any issues. This also contributes toward making the keyboard look so elegant on my desk. The design reminds me of some of NuPhy’s keyboards. The keyboard is light for an aluminum keyboard. All the alluminum keyboards I used before were heavier than this.
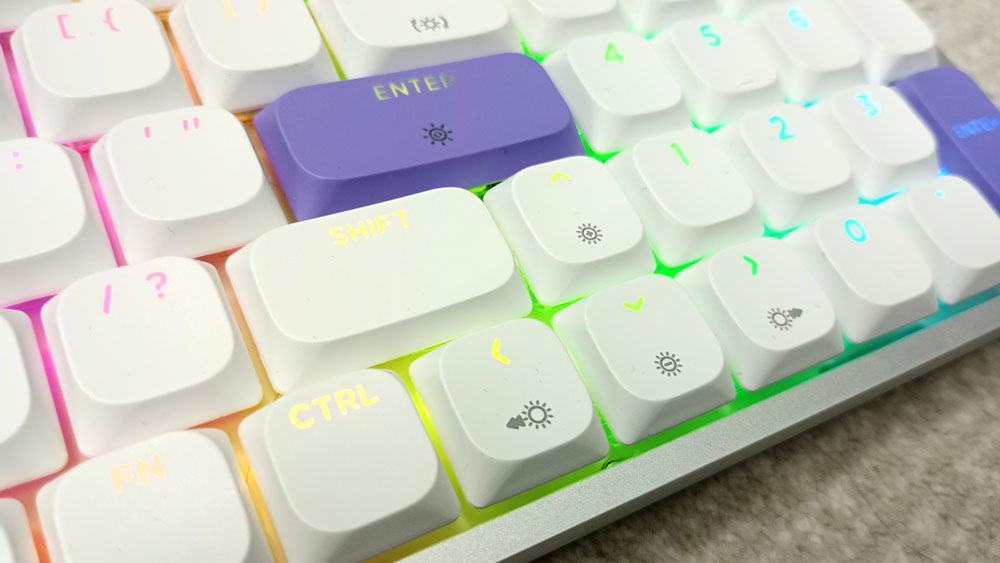
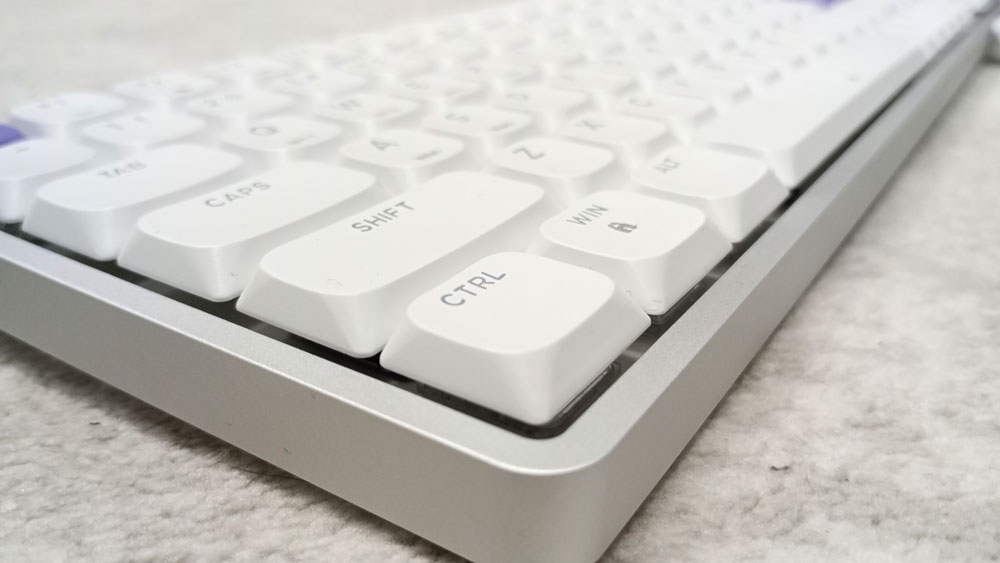
EPOMAKER Luma100 is a low-profile keyboard. It’s a type of keybaords I enjoy using as a daily driver a lot. I find it much easier to move my fingers around my keys with them. It has a 96% form factor, which is a compact layout where there’s no island for the navigation & arrow keys. The navigation keys are distributed around the numpad. The arrow keys, numpad & the rest of the keys are adjacent to each other. There’s not much space between the keys at all. The good thing about this layout is that you barely lose any keys compared to a regular 100% keyboard while still saving some space (it lacks dedicated Pause, Scroll Lock & Insert keys). The only downside is getting used to it. For example, you may end up pressing the numpad 0 key while trying to press the right arrow key. This isn’t my first keyboard of this kind, so I didn’t face these issues, but I remember how I felt when I used one for the first time, haha. I appreciate having the numpad in this form factor since I use it as shortcut keys in my usual workflow.
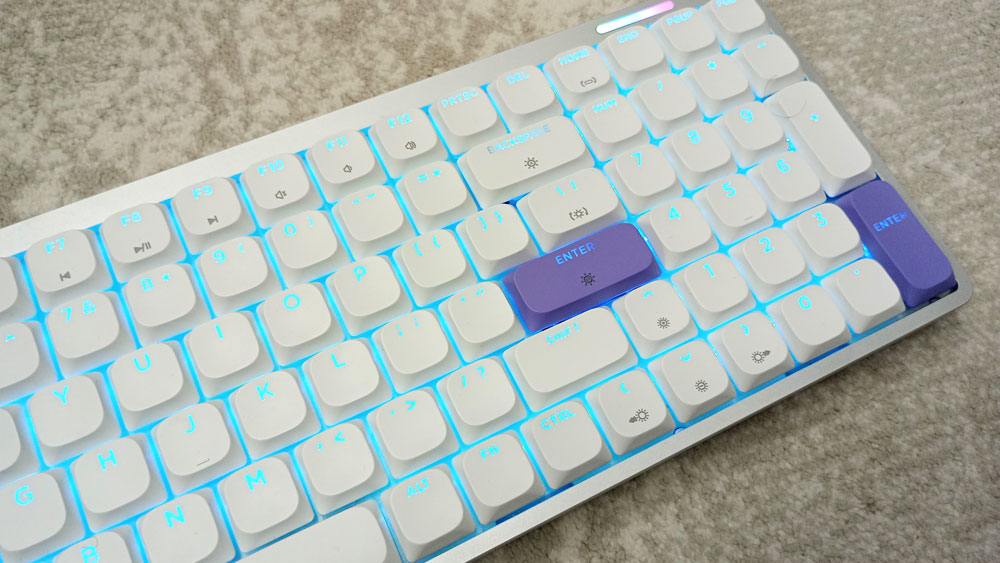
EPOMAKER Luma100 comes in only one color option, which is white, and offers one option for the switches, which is Mint Low-profile switches. You can replace the switch yourself if you desire in the future. I will talk about that in detail later in this review. All the keycaps are white, except for the Escape & two Enter keys, which come in purple. The keyboard comes with those keys in white keys if you want it to be all white, in addition to Mac keys in case you’re a Mac user. The keyboard supports both Windows & Mac modes, and switching between them is easy since the keys for that are labeled (that goes to all the main hot keys, which reduce the need to refer to the manual).
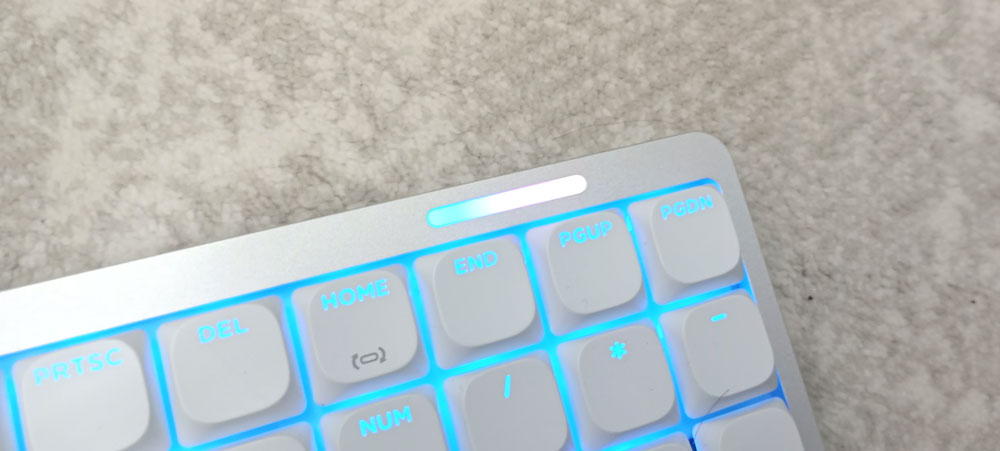
The backlight of the keyboard is very beautiful. It’s not something you have never seen if you already own multiple mechanical keyboards, but I can’t help commenting on it since I like looking at it. In addition to the RGB backlight, there’s an RGB stripe at the upper right corner of the keyboard. It shines in rainbow colors by default, but that can be adjusted by pressing the FN + Home keys. You can cycle between a number of solid colors or completely turn it off in case you want to save on battery.
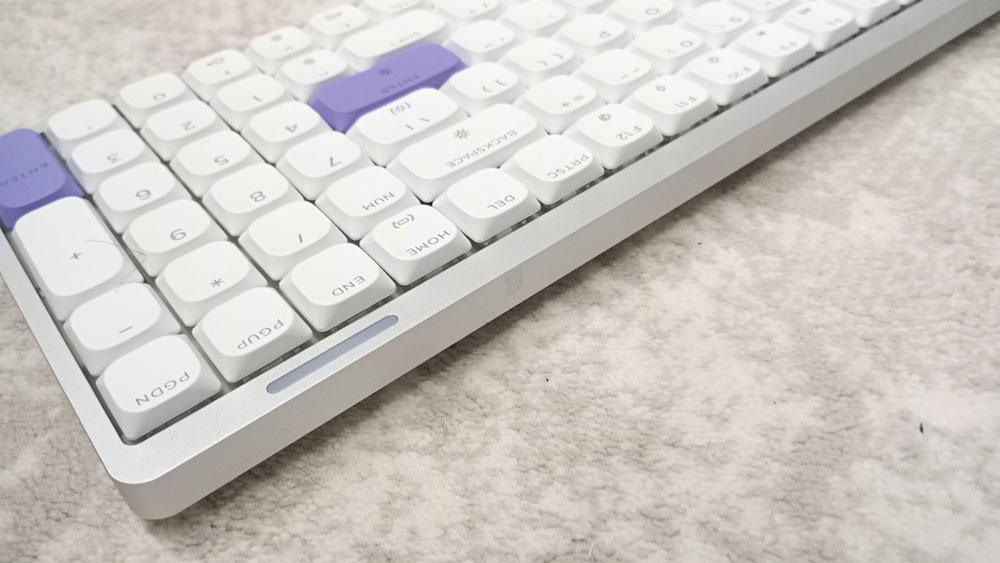
By default, EPOMAKER Luma100 lays flat on my desk, with no slant at all, but it comes with taller black feet to add some slant if you want.
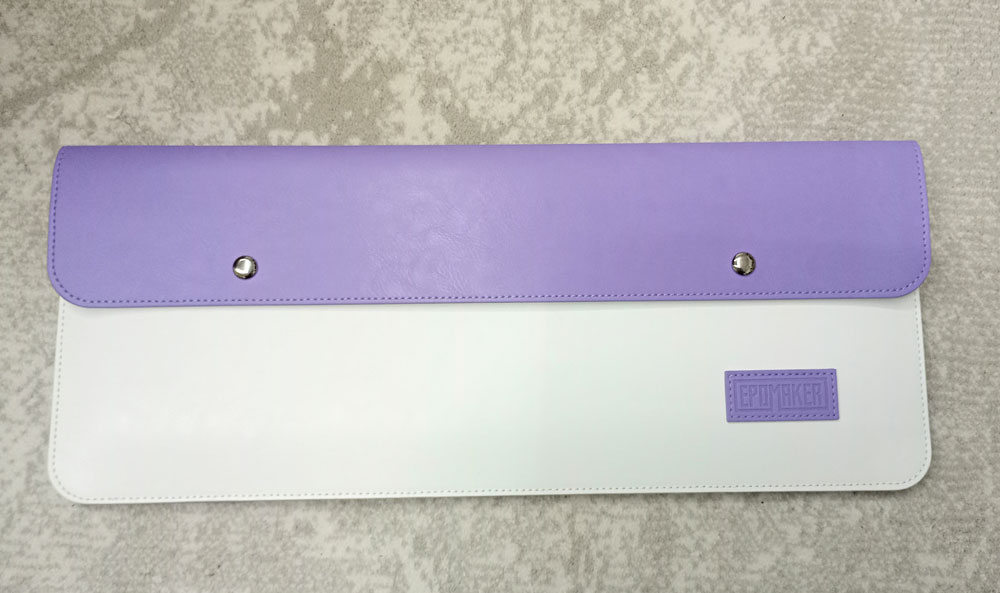
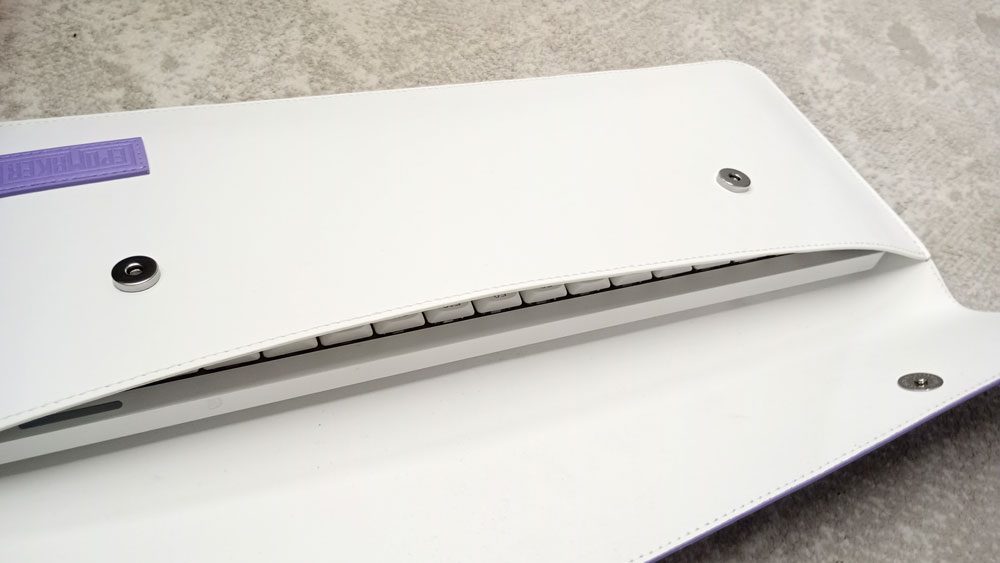
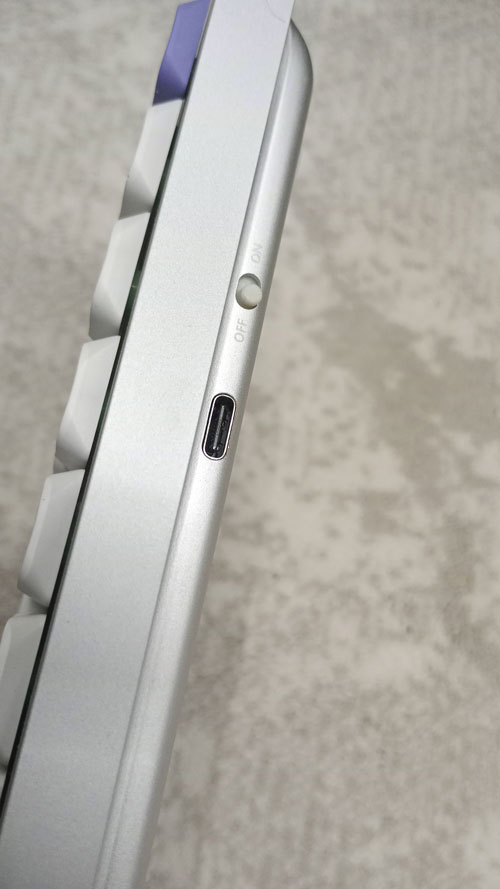
There’s an on/off switch at the back of the keyboard. It doesn’t do anything at all when the keyboard is connected via USB, as the keyboard will work regardless of whether it is on or off. It’s simply there to allow you to turn the keyboard off in case you’re using it wirelessly, which is useful in case you want to carry it around. Speaking of carrying, EPOMAKER Luma100 comes with a white/purple leather carrying case. The keyboard fits nicely inside of it, though it doesn’t prevent the keys from being pressed while inside, but I guess that’s what the on/off switch is for.
Typing Experience On EPOMAKER Luma100
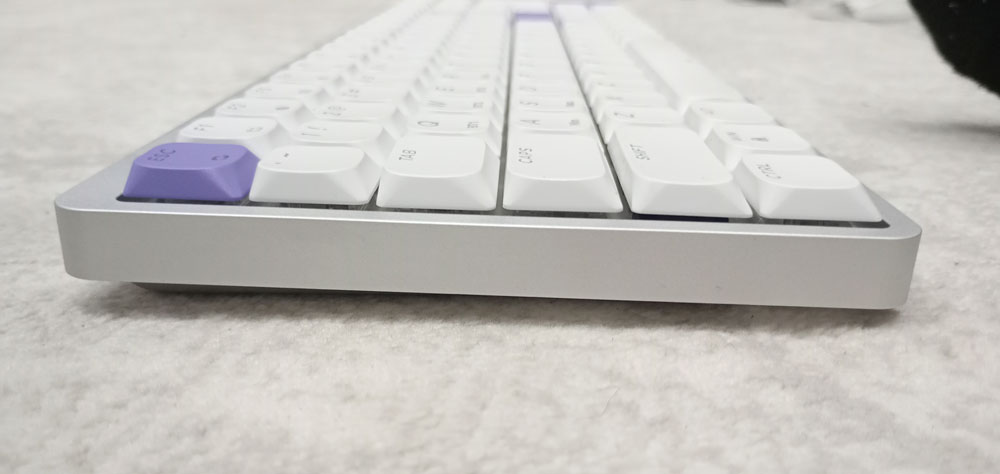
As I just mentioned, EPOMAKER Luma100 is a low-profile keyboard, so it can be very easily used without the need for a wrist rest. At least I never use one with them.
Typing on EPOMAKER Luma100 is quite enjoyable. The keys are so easy & comfortable to press, and the low-profile layout makes typing very easy if you already like typing on laptop keyboards. When it comes to the sound, this keyboard doesn’t make a loud sound at all. It’s a relatively quiet keyboard. It’s the opposite of what I call “thocky”, which makes it great for a work environment. The space bar in particular makes lower sound than any other key. It’s also great if you want a keyboard with a great typing feeling but don’t want or care for the typing sound.
I did the usual tests I do on any keyboard. Like, when I push down on the keyboard with my finger, the keyboard flexes a bit. Although this never happens when I type normally on it. The sound made by the large keys doesn’t stand out whenever I am typing, which is a good thing. I say this because on some keyboards, the large keys like Enter or Shift make a distinct cheap sound compared to the awesome sound the regular keys make, like F, A, or I.
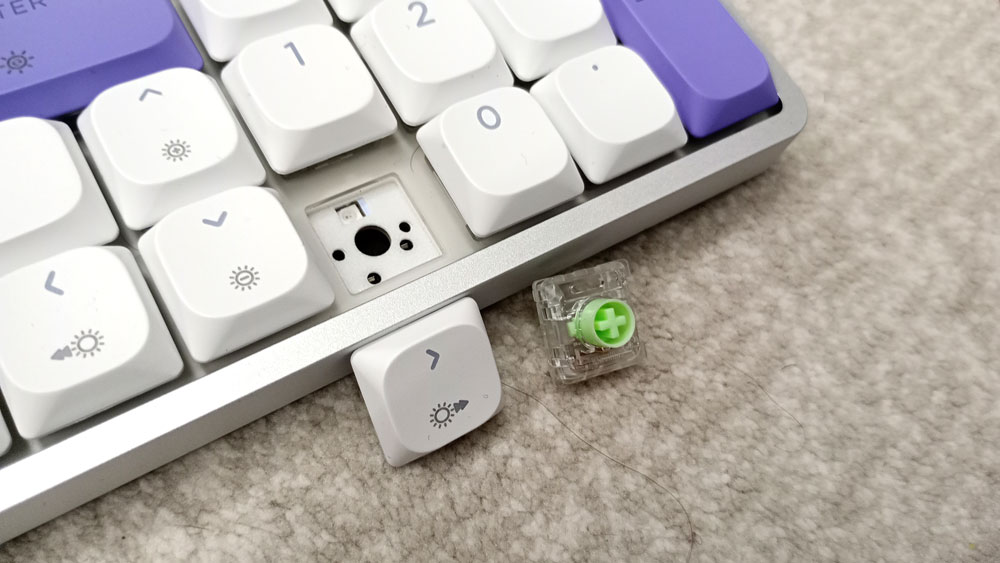
EPOMAKER Luma100’s switches are hot-swappable and so can be removed very easily with the switch puller that comes with it. That means you can customize the typing experience to your heart’s content in the future. It’s also useful to be able to replace switches in case one of them starts to act up.

Customizing EPOMAKER Luma100 Using The VIA Software
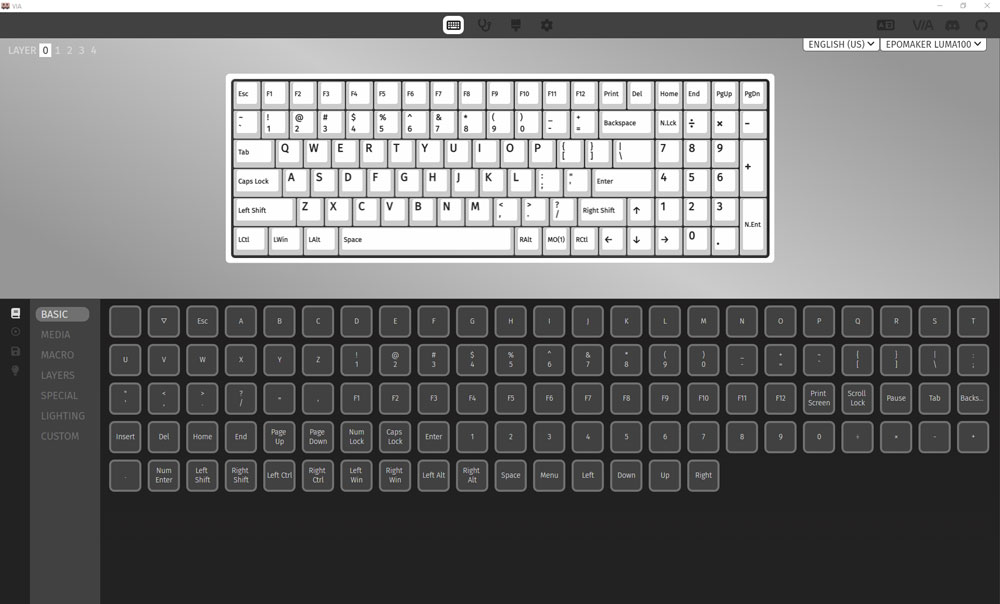
Since EPOMAKER Luma100 has QMK firmware (which stands for Quantum Mechanical Keyboard). It is compatible with VIA software, which is built on QMK. VIA software provides many options for customizing the keys. You can map any key to another you want. You can also have multiple layers to give you access to the keys you may need every now & then. You can also assign macros or special keys to any of these combinations. All you have to do is load the JSON file from EPOMAKER’s website into VIA, and then start customizing it.
I did some of the usual mapping I do with almost every single keyboard I use. I mapped the print screen key to insert since I use that key a lot. I also mapped the FN + / keys to the pause key, since I use it to activate my browser.
In addition to key mapping, EPOMAKER Luma100 allows you to adjust the backlight effect & color.
EPOMAKER Luma100 supports QMK firmware, so if VIA software wasn’t enough and you wanted to get more out of your keyboard, you can skip VIA altogether & program the keyboard in more sophisticated ways, but that’s a more advanced topic with its own learning curve.
3 Connectivity Modes
EPOMAKER Luma100 comes with the standard & always welcome 3 connectivity modes. You can connect it wired via USB cable, wirelessly via the 2.4Ghz receiver or via Bluetooth. Bluetooth mode supports up to 3 devices. You can pick between the 2.4Ghz mode or any of the 3 Bluetooth devices by pressing the Fn key along with the Q,W,E & R keys. There are labels on the keys to indicate which button activates which mode.
And Finally
All in all. I quite liked EPOMAKER Luma100. For the price, it provides such a nice typing experience in a compact form factor. It has enough features that make it suitable to be used in many situations. I plan to continue using it to code my stuff even after I am done with this review.
I hope you liked my EPOMAKER Luma100 review, and I will see you in another Tech Fairy article. Check out the mobile apps I developed, which I hope you find useful & interesting.
Buy From AliExpress
#CommissionsEarned