


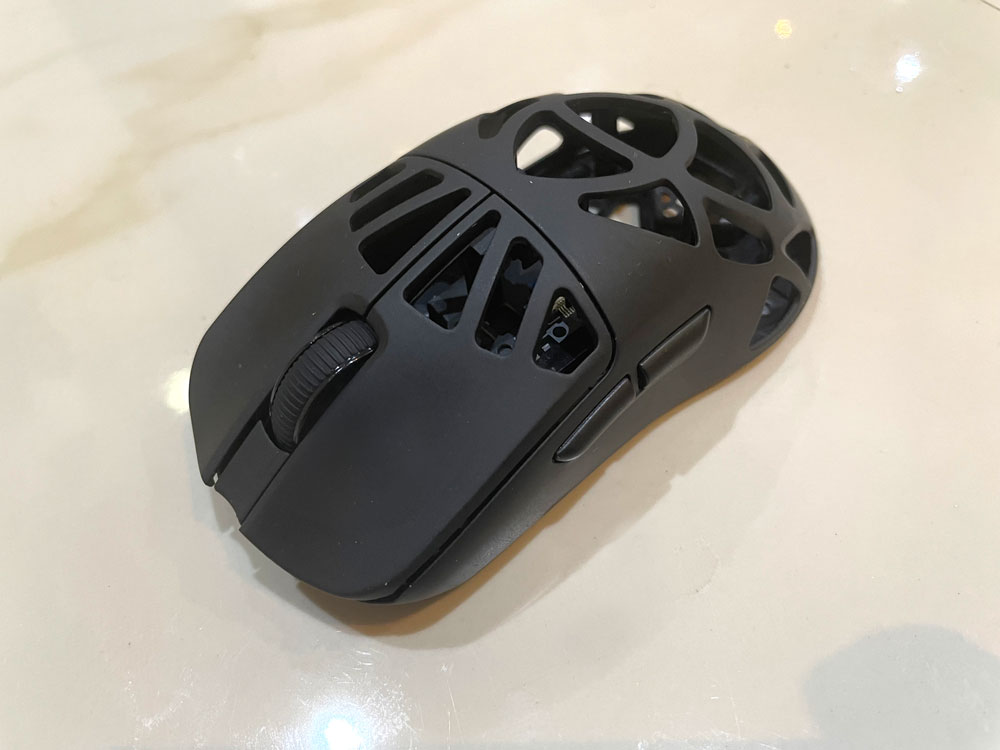
Want A Light & Responsive Mouse EPOMAKER CarbonX Is For You.
I received EPOMAKER CarbonX from EPOMAKER to review & give my opinion on it. It’s a comfortable mouse to use. I liked the relatively quiet mouse clicks and the easy-to-press scroll wheel that barely makes any sound. The coating on the mouse makes it very nice to the touch. Though it worries me a bit, since it can get sticky over the course of many years. The side buttons are useful for web browsing, and they can be customized further to help with other things. The CarbonX driver provides a lot of options to customize it.
I didn’t have any issue with the CarbonX when it came to accuracy; the cursor always moved to where I wanted it to. The scroll wheel also doesn’t have the issue where it responds inaccurately or doesn’t respond at all when you suddenly change direction. The high max of 30000 makes it suitable to any monitor you want to pair it with. In fact, that’s more than you will ever need, so it’s nice to have. There’s a DPI button at the bottom for switching DPI on the fly.
I noticed the CarbonX weight is concentrated towards the front; that didn’t bother me personally, but I thought it was worth mentioning. The CarbonX wakes up the moment you start moving it or whenever you press a button, and while it lacks any RGB lighting, there’s an optional small LED between the two buttons whose color indicates battery life. It can also be configured to indicate the polling rate.
The web driver offers many customization options, from adjusting DPI settings to reducing their number. It allows you to customize almost all the buttons on the mouse, including mapping them to a keyboard shortcut (you can’t remap the left button though). EPOMAKER CarbonX offers 3 connectivity modes, so you can connect it via a USB cable or wirelessly using either the 2.4GHz receiver or via Bluetooth. Bluetooth support makes it convenient to use with my tablets.
Overall. I found myself liking EPOMAKER CarbonX. It’s a really good mouse.
You can buy EPOMAKER CarbonX & check the price from the following affiliate links. Support Tech Fairy by using them:-
Buy From AliExpress
#CommissionsEarned

Quickly go to:-
Unboxing & Overview
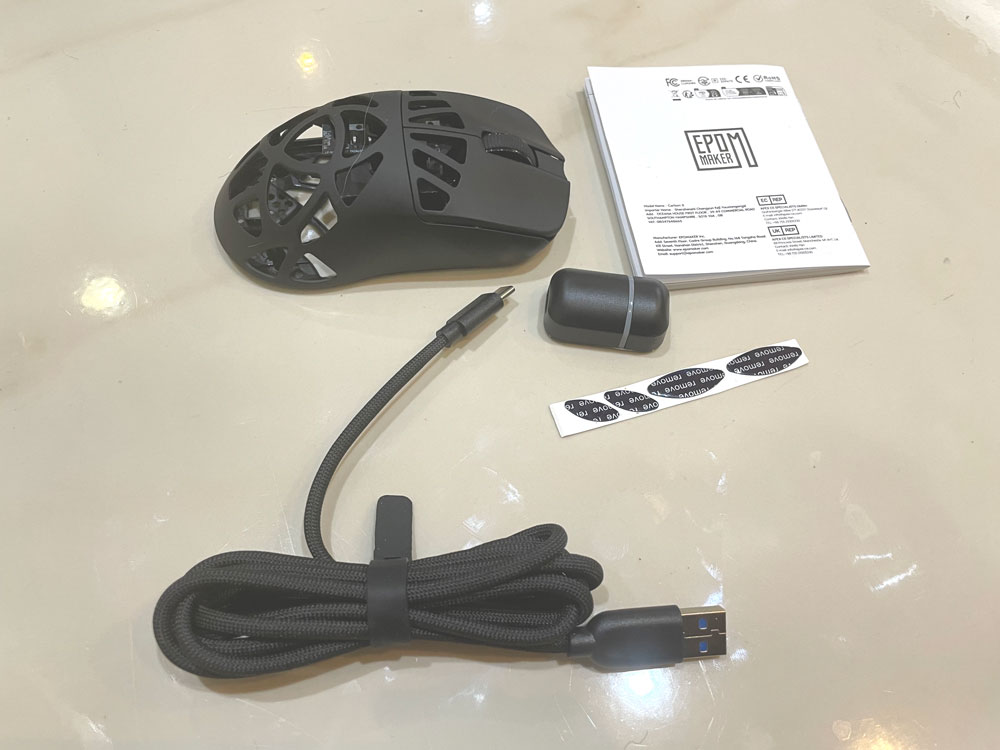
After unboxing EPOMAKER CarbonX, I found the following stuff:-
-
- EPOMAKER CarbonX itself.
- 2.4GHz receiver.
- A black USB-A to USB-C braided cable.
- Extra skates for the mouse (4 in total).
- A user manual.
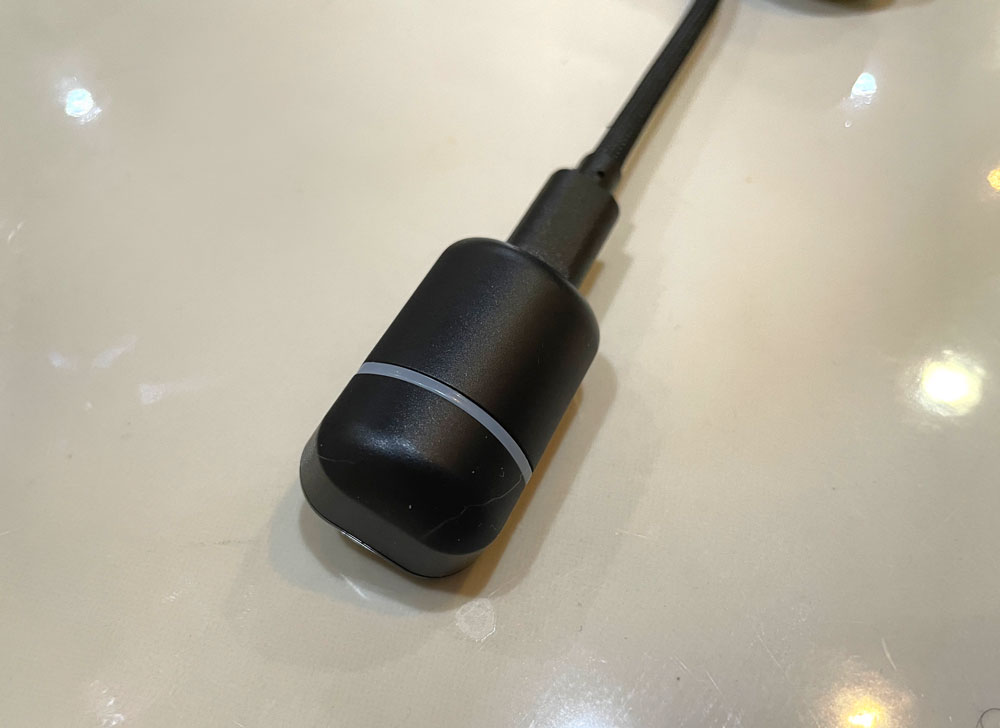
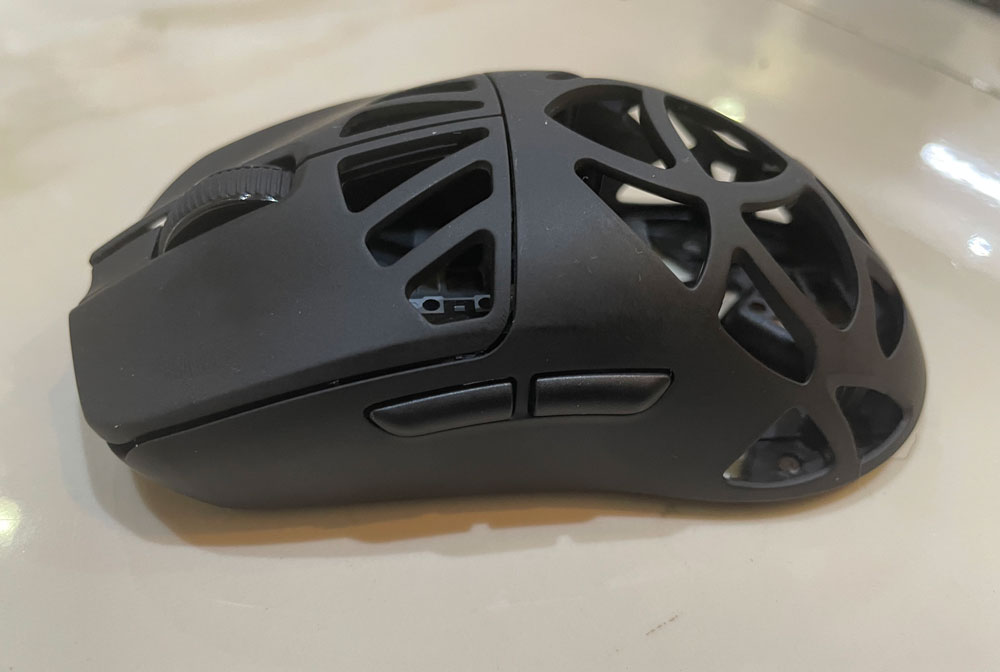
Once I connected EPOMAKER CarbonX to my computer using the 2.4GHz receiver, I started moving the cursor around. The first impression is that it is quite a light mouse. The holes on it help to reduce the weight. It also kinda helps with the grip. Most of the mouse’s weight is on the front, because that’s where all the components are (you can literally see them through the holes). This weight distribution didn’t bother me while using it, but I think it was worth pointing out. The wireless 2.4GHz that comes with EPOMAKER CarbonX looks cute. EPOMAKER CarbonX can be charged from the port at the front, which is also used to connect it to a computer in wired mode.
The mouse has a matte coating that feels quite soft. I quite like it. It makes using the mouse more enjoyable, but I am worried it will turn sticky in a few years of use. The coating leaves some fingerprints only when I press it with some force. Other than that, I didn’t have issues with the build quality.
Now, time for a quick sound test. The two mouse buttons were relatively quiet. They still made a metallic clicky sound. It wasn’t anything annoying. The scroll wheel had defined steps, but it was easy to press & quite silent too. Even when I placed it near my ear, I couldn’t hear anything. I tested the scroll wheel to see if it responds correctly. It’s a test where I open a web page & scroll in a certain direction, and then suddenly reverse direction. The page should scroll exactly as I did with the mouse. EPOMAKER CarbonX passed this test. I also tested using it away from my computer (about 4 meters from the receiver), and it worked quite well.
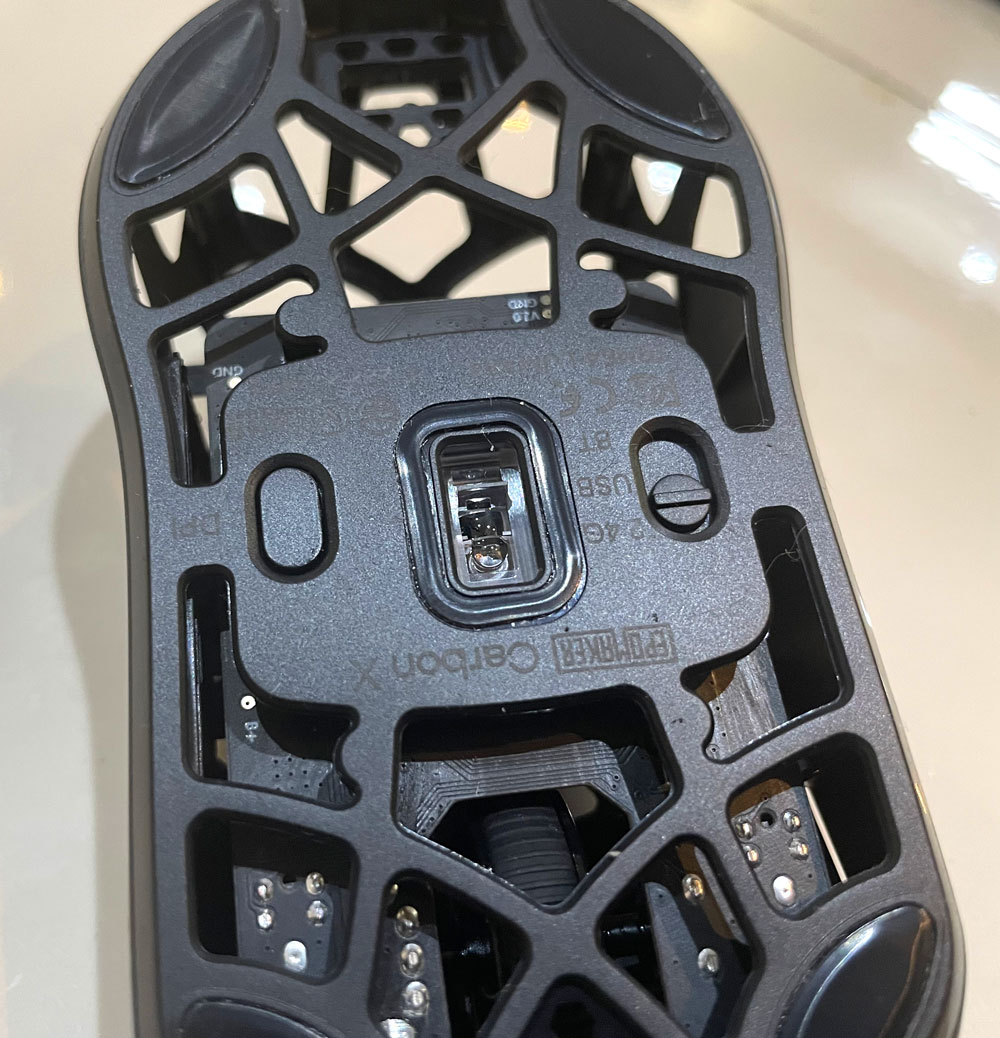
At the bottom of the mouse, there’s a button for toggling the DPI. It switches between 7 DPI settings, from 400, 800, 1600, 3200, 6400, 12000 & 30000. I tested the highest settings; it caused the cursor to travel the 3346 pixels from the far right to the far left with a small flick (I had two monitors on the test computer). You generally won’t need very high DPI like that, but it’s really nice to have. EPOMAKER CarbonX supports a max DPI of 30000, way more than needed. I kept it at 1600 during most of my tests. Even if you have a monitor with a much higher resolution than my cute 1080p monitor, it will still work fine.
There are two buttons on the left side of EPOMAKER CarbonX. These buttons service as back/forward buttons by default.
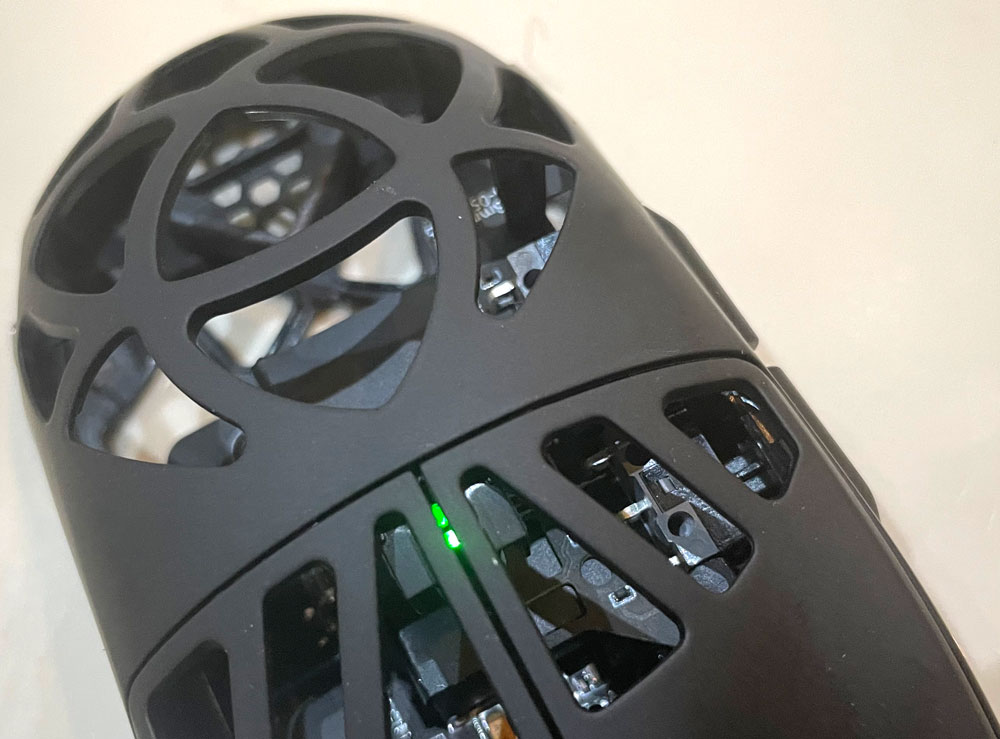
By default, the CarbonX sleeps after 1 minute of no use. It wakes up the moment you start moving it, without the need to click either of the two buttons. There’s a tiny light stripe at the middle of the mouse. That led changes color based on the battery level (Green => Orange => Red). The color can be changed to indicate the current polling rate, if you like. Aside from the tiny stripe, there aren’t any RGB lights on this mouse.
Since I don’t play FPS games much nowadays, strategy games are the only kind of games I use mouse & keyboard for. I played Command & Conquer:- Zero Hour. It’s an old game I love and always keep getting back to. The CarbonX worked quite well, especially since I often click like crazy whenever I play that game. In my experience, the PAW3950 sensor did the job just fine in terms of accuracy.


Customizing EPOMAKER CarbonX With The Web Driver
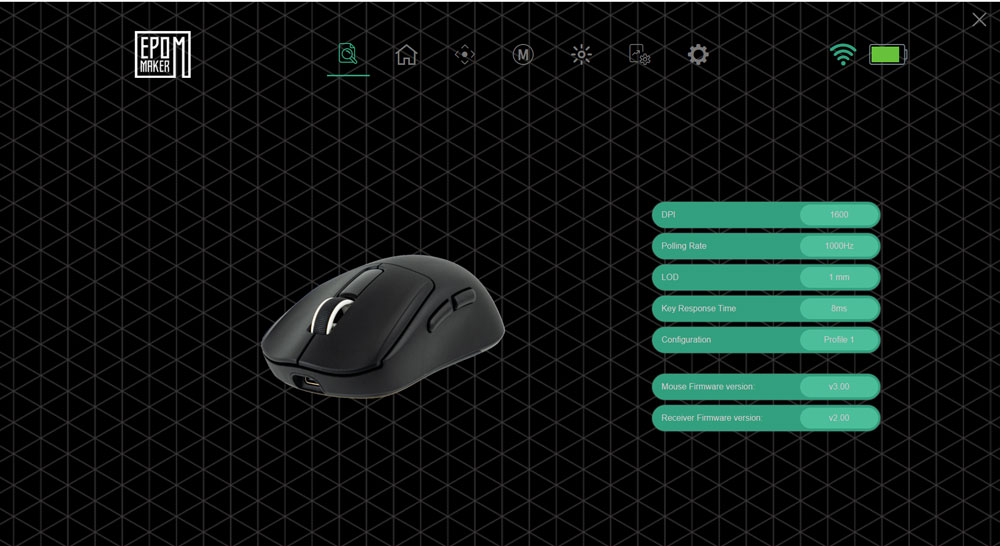
EPOMAKER CarbonX can be customized using the Web driver. Just connect the mouse & start customizing. The driver worked even when the CarbonX was connected via the 2.4GHz receiver. It provides a lot of options to make CarbonX work the way you want.
For starters, you can remap any of the 4 buttons to a keyboard shortcut & many other settings (by 4 buttons, I mean the right & middle buttons, as well as the two side buttons). You can’t remap the left mouse button. The available remappings are the following:-
-
- Keyboard shortcuts (e.g. CTRL +S).
- Left, right & middle click.
- Toggle polling rate.
- Firepower button (turbo for the left mouse button).
- Horizontal scrolling
- Go forward.
- Go backwards.
- Disable the button.
The nice thing about mapping the buttons to a keyboard shortcut is the ability to do things you can’t usually do with a normal mouse. Like, I can imagine myself using it to play visual novels, where one button opens the dialogue logs while another one saves the game, and so on. This can be useful for productivity too. Like, I could use this feature for debugging. Since I already use the mouse to inspect variables, I could also map one of the side buttons to step over while the other to step into functions. I also imagine myself using software to change what each of the buttons do based on the software I am currently using, but that’s a totally different topic. For the time being, you can define up to 4 profiles for different use cases.
A very interesting option I found in the driver is the long-distance mode, which I imagine can be useful when the mouse is far away from the receiver. In all the tests I did above, I didn’t use that mode, since there was nothing that could cause interference in the room as far as I could tell. This mode could lead to a shorter battery life.
The DPI tab is where you adjust each DPI settings. There are 7 settings to toggle between them. You can also lower the number of DPI settings if you think 7 is too much.
Other settings the driver provides:-
-
- Setting sleep time
- Define macros
- change the sensor settings.
- Change the polling rate
- Enable mouse angle mode
3 Connectivity Modes
EPOMAKER CarbonX supports 3 connectivity modes. You can use it wired via the USB cable, wirelessly using the cute dongle I mentioned, or via Bluetooth, which not only eliminates the need for the dongle but also makes it a suitable option for mobile devices. I tend to prefer the 2.4GHz in case I am using the mouse with a computer, as it usually wakes up faster than Bluetooth. There’s a toggle at the bottom of the mouse to switch between the 3. I noticed that EPOMAKER CarbonX works wired if it’s connected via USB, even if the toggle switch is set to 2.4GHz. That’s a good thing since you get a higher polling rate this way.
And Finally
In conclusion, I quite liked EPOMAKER CarbonX. The coating that could turn sticky over time is the main thing I am currently worried about. Other than that, it’s a good mouse that can do you well.
I hope you liked my EPOMAKER CarbonX review, and I will see you in another Tech Fairy article. Check out the mobile apps I developed, which I hope you find useful & interesting.
You can buy EPOMAKER CarbonX & check the price from the following affiliate links. Support Tech Fairy by using them:-
Buy From AliExpress
#CommissionsEarned