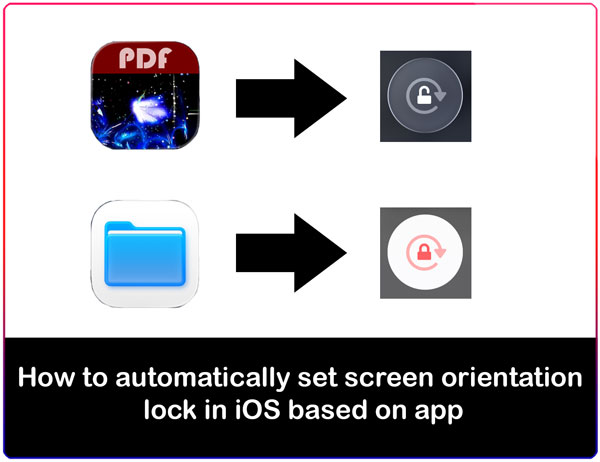
You No Longer Have To Set Orientation Lock Off Or On Manually With This Shortcut
Most people turn auto screen rotation manually based on the app they use, or based on what you’re doing at the time. Even with the option being in the control center, this can be tedious to do over & over. But thanks to the Shortcuts app, which is installed on every iPhone or iPad with iOS or iPadOS. This can be automated. Just follow the simple steps below, and you’re done.
This shortcut been tried on iOS26, on both iPhone & iPad, and is expected to keep running for years to come.
Quickly go to:-
Creating A Shortcut To Set Screen Orientation Lock In Ios Based On App
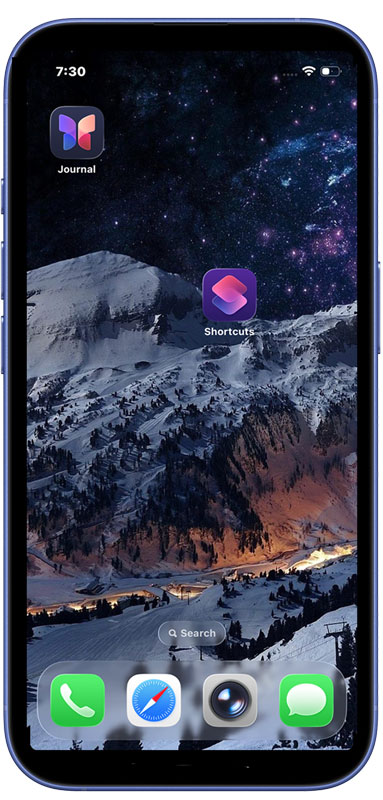
First, open the shortcuts app, which is already installed on your iPhone or iPad device.
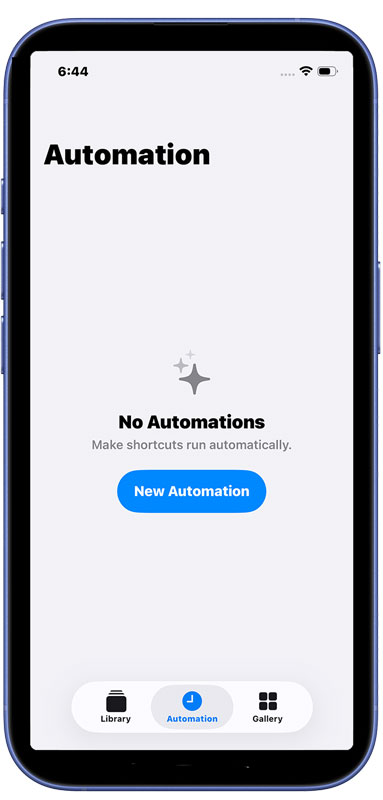
On the tabs at the bottom of the page, switch to the automation tab by tapping on it in the tabs bar.
Tap the “New Automation” button to create a new automation, which is the kind of shortcuts that allows us to automate auto screen rotation. If you already have created automations before, press the + button at the corner of the screen:-
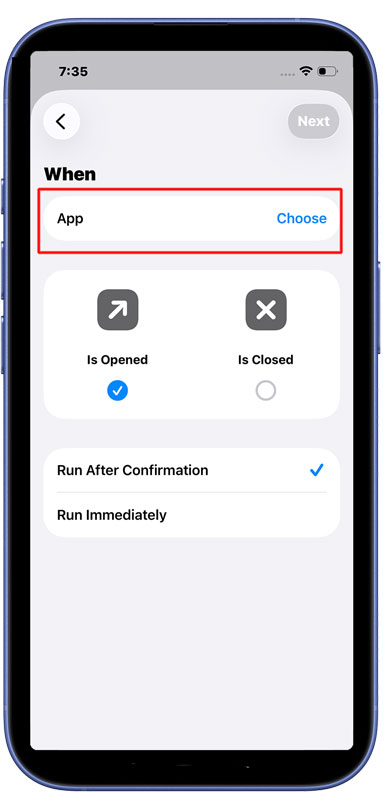
From the list of shortcut triggers, choose App. You can use the search function to quickly find it if you like:-

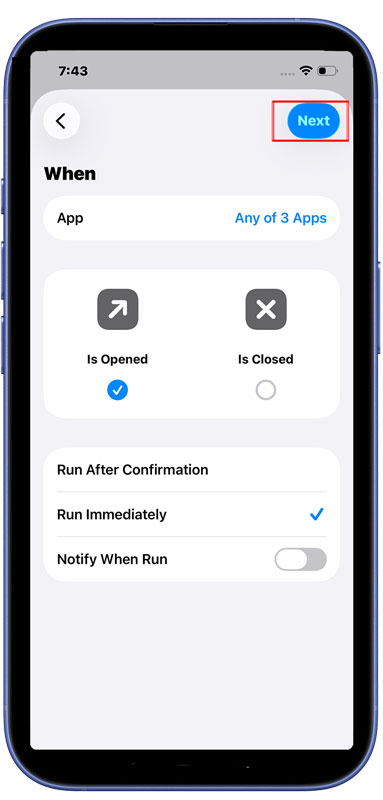
There are two ways to go about automating screen auto rotation here. We can make it so that so that screen auto-rotation is turned on or off when certain apps are activated, or when we leave these apps. For the sake of this tutorial, we will pick the “Is Opened” option, meaning that all the apps we add to this shortcuts will activate the shortcut when we open them, and so auto-rotation will be on.
Tap the “Choose” button. This will open a list of the apps installed on the device.
Tap on each app you want this shortcut to activate once opened (or once we switch away from, if you picked the other option). Here, I picked both Fairy PDF Reader, as well as Gallery Vault & Garage Band. You can use the search function to quickly find the apps you want to pick:-
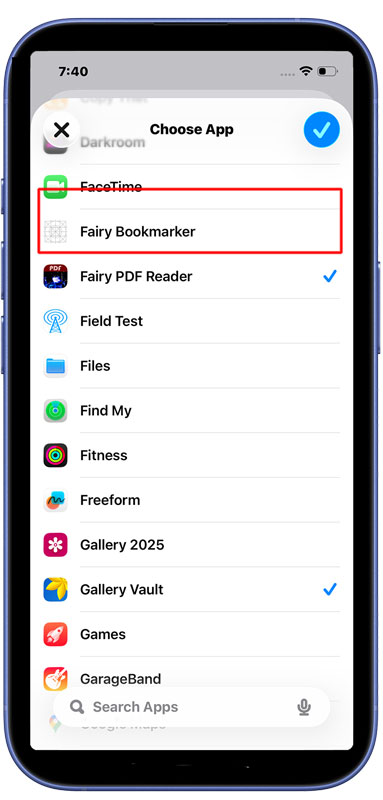
Once you’re done, tap the large blue circle at the corner of the “Choose App” window to finish selecting apps.

There’s one last thing to do in this screen. Which is to tap on the “Run Immediately” option, since we are creating this shortcut to automate the process of enabling/disabling auto rotation for us, we don’t want Shortcuts to ask us every time it activates. You can, if you like, make it notify you every time it runs, which can be useful for testing (but annoying otherwise). We will keep that option off here:-

Tap the Next button:-
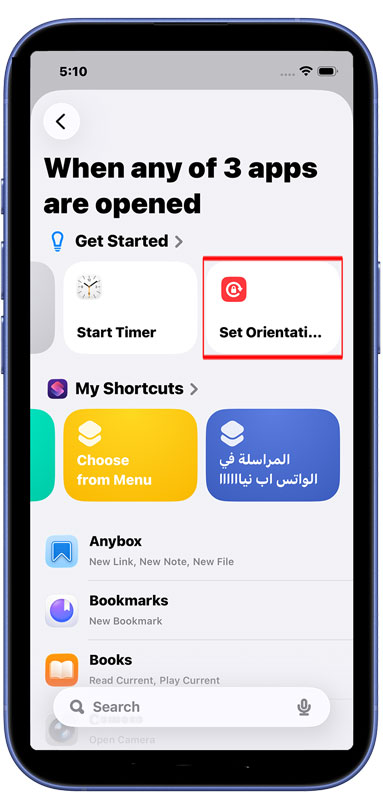
From the list of the actions available to us, tap “Set Orientation”, we found that on in the “Getting Started” section:-
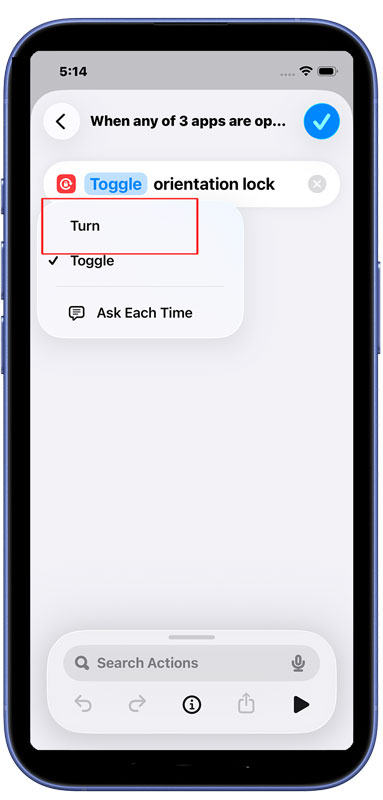
Notice the Toggle in the orientation lock action. We don’t to toggle orientation lock every time we activate these apps. We want to turn it on. So tap on the word toggle:-
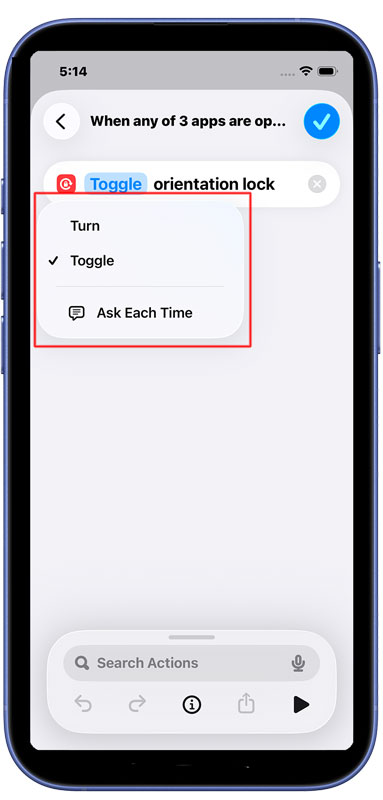
Select Turn from the menu that appears:-
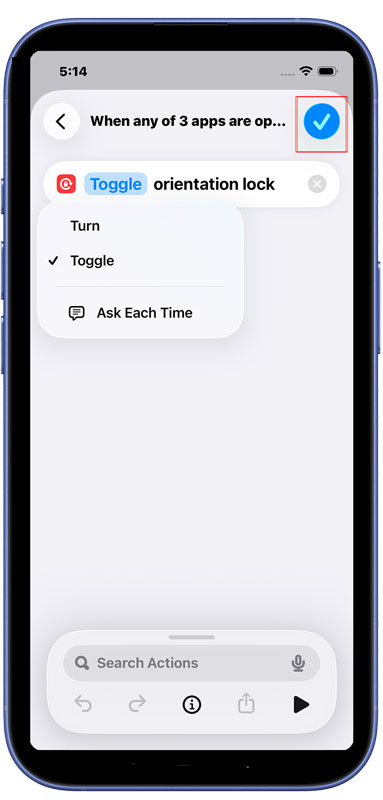
The same way we changed Toggle to Turn, make sure we turn orientation lock on. If it was set to On, just tap on it to turn it to Off.
Tap the blue checkmark to finish creating the shortcut:-

Let’s Try It Out
Now we are done creating the shortcut, let’s try it out. We will set orientation lock to On from the control center:-
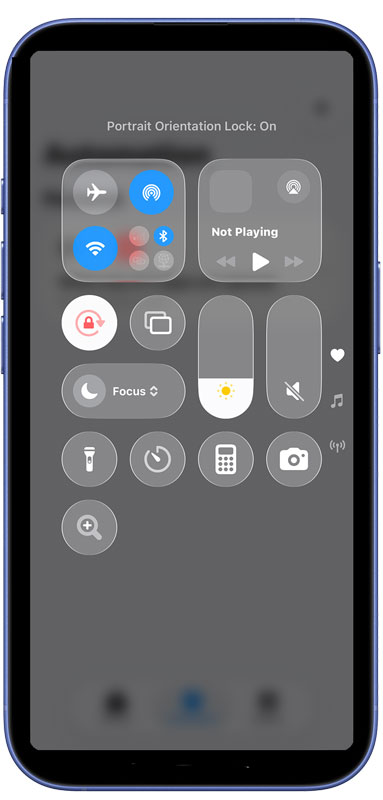
Now, once we launch/activate Fairy PDF Reader (or any other app you picked), now orientation lock is off. Meaning we can rotate the iPhone to landscape to make it easier to read PDFs.
Keep it mind that once we leave the app, orientation lock will stay off. You can create another shortcut for when we leave the app. Using the same steps we outlined here.
Also, you can edit the shortcut to add or remove apps from it at any time. Just go to the Automation tab in Shortcuts, and tap on the shortcut to edit it.


And Finally
Changing the screen auto rotation status based on the app you’re using is the tip of the iceberg when it comes to using shortcuts. I sincerely hope this iOS tutorial has explained that well, and that it was easy to follow. See you again in another tutorial. Take a look of the many iOS apps I developed, which I hope you find useful.